Table of Contents
...
Workspace ID
Fill in the ID of the Assets (Insight) workspace you want to configure backup for. The Workspace ID can be found on the following link: https://[yourcloud].atlassian.net/rest/servicedeskapi/insight/workspace. The Jira Service Management REST API uses the workspace ID to identify your individual instance of Assets (Insight), it is an alphanumeric string at the end of the text shown on the opened link with the following sample appearance:
3b3b70g5-66f8-3c01-a2d7-e5bbf2584dc3:{"size":1,"start":0,"limit":50,"isLastPage":true,"_links":{"self":"https://[yourcloud].atlassian.net/rest/servicedeskapi/assets/workspace","base":"https://[yourcloud].atlassian.net","context":""},"values":[{"workspaceId":"3b3b70g5-66f8-3c01-a2d7-e5bbf2584dc3"}]}
| Info |
|---|
Workspace ID is a mandatory field and it should match the Workspace ID of the instance you are installing the app! |
...
After filling the three fields in, click the “Save and Continue“ button. If there is an error in the filled fields, you will see the corresponding error message and link for editing the incorrect information:
...
After deciding on the database, click the Save and Continue button to proceed to the third step.
...
When the backup database is chosen, you will see the Current Connection information and can Sync the existing schemas by clicking the Sync schemas button:
...
| Info |
|---|
Sync may take up to a few minutes, depending on the quantity of the data in Assets (Insight). |
| Info |
|---|
The ATTACHMENTS STATUS shows whether Assets Attachments Backup & Migration app is installed on Cloud and what is the current license status. See Backup and Restore of object Attachments for more details. |
...
After filling in the necessary information, click the Save target instance button to add the instance to the list.
...
You can delete the current connection by clicking Delete. You will see the confirmation popup:
...
If you click the Delete button, the synched schemas will disappear and to continue using the app, you will need to go through the Initial setup.
...
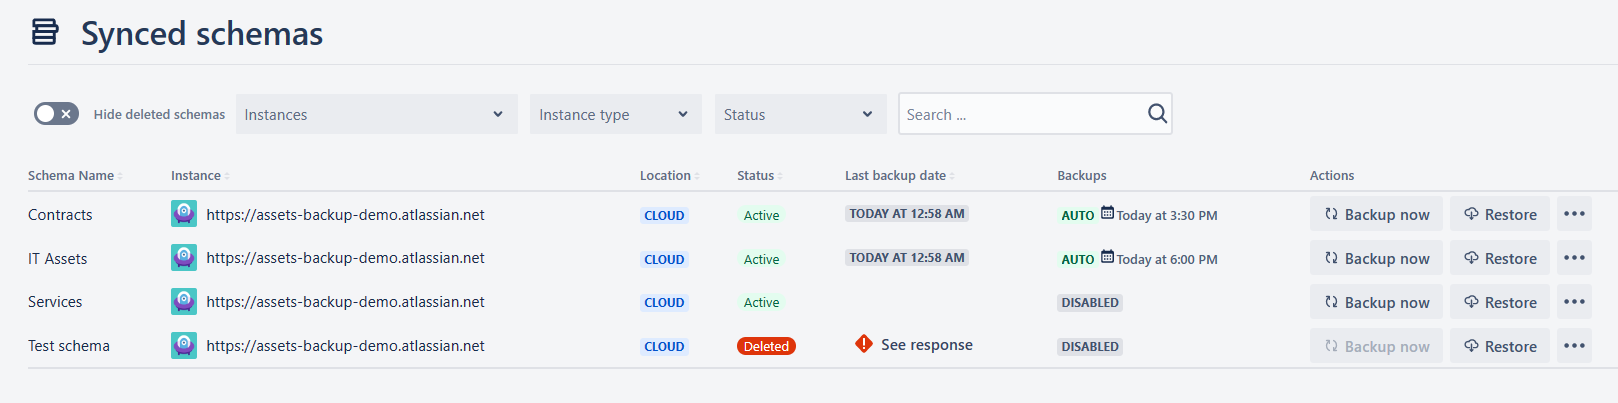
Schema Name
Instance
URL of the instance where the schema is located
Location
Cloud
Another Cloud: Backup schemas from another instance
Data Center: Add Data Center / Server
Status
Active
Deleted
When the schema is deleted from the assets. It is not possible to backup the deleted schema, in this case Backup now button will be disabled:
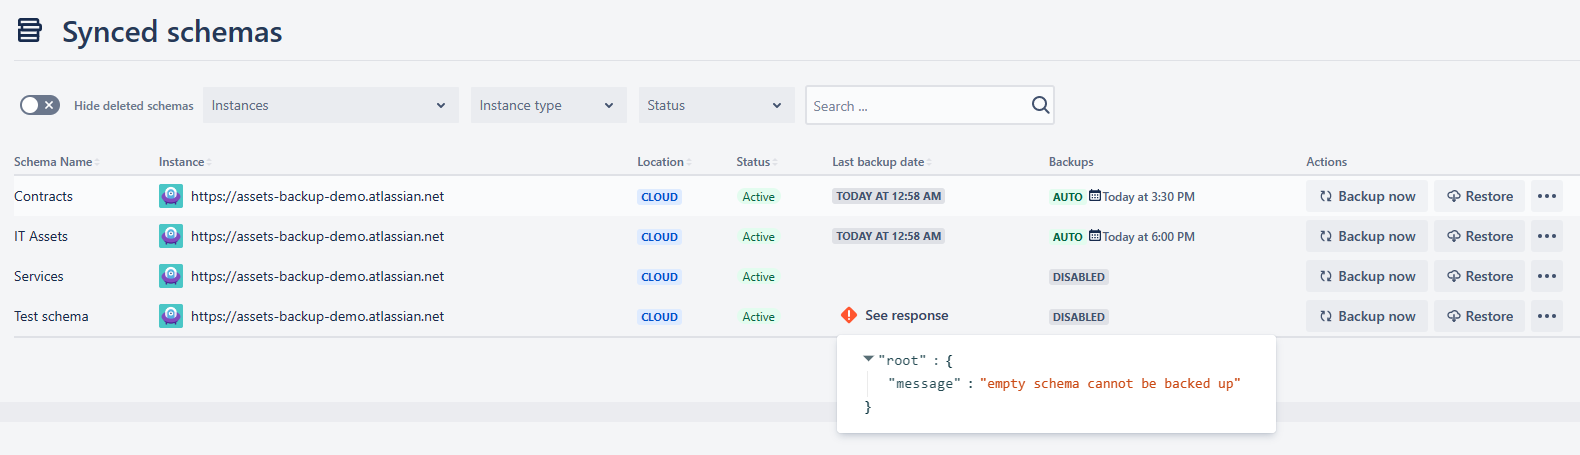
Last backup date
Date of the last backup
In this column, additional information might be shown, e.g. regarding the last backup backup error
Backups
Disabled
When the backup schedule is not set
Pending
When the backup has not yet started and is in the queue
In Progress
Backup in Progress
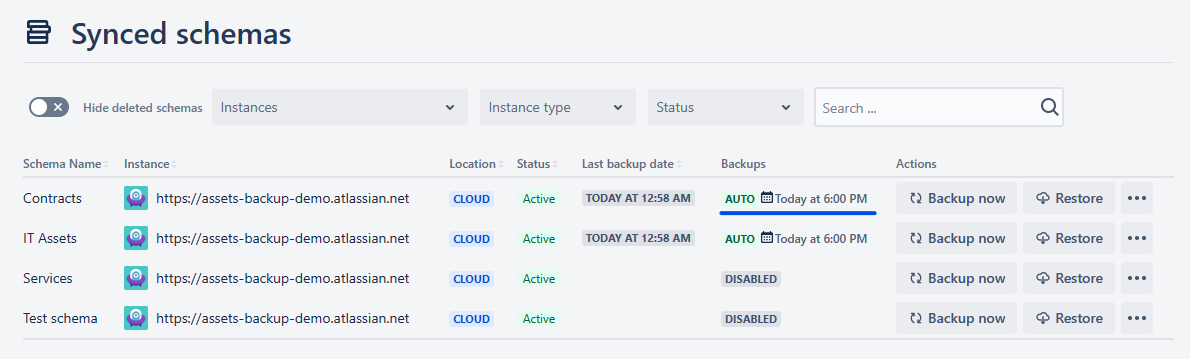
Auto
Backup is scheduled
The next backup date will also be displayed:
Actions
You can schedule backup using a corn expression
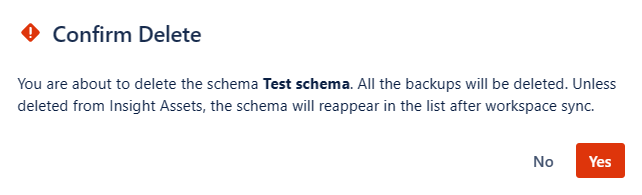
Delete
After clicking the Delete button, you will see the confirmation popup:
| Info |
|---|
After restoring the schema on the current instance, the schemas will be automatically synced. |
| Info |
|---|
If you delete an active schema (meaning it exists in Assets (Insight)), the schema will reappear after a sync. |
...
After deciding on the schedule and filling in the expression, click “Save“ button.
| Info |
|---|
After clicking the “Save“ button, the first backup will be immediately executed. The following backups will be executed according to the defined schedule. |
If the Cron expression is not valid (e.g. number of hours is more than 24 or the number of minutes is more than 60), after clicking the Save button, you will see the error message - “Cron expression is not valid”:
...
| Note |
|---|
After editing the Cron expression, the modified schedule will be displayed in the “Next Backup” column in up to 20 seconds (browser refresh is needed to view the modified schedule). |
...